Another configuration page is about iButton keys. You can see the page on the right. Settings here are rather simple on the top you can see the table of assigned keys. There are name and and 8 byte address of iButton key. There is currently space to store up to 8 keys, but can be expanded. Bellow that is a pull down selection to work with single key. There is not much to say about that except of last key value that is set to 55's. This value hold the last unauthorized key address. That can be used either to see address of key that is not yours. Or better when you have new key, you can just touch authorization unit. The system recognize unknown key, issue a warning message in the system log, and store the address value here. Next thing is to copy paste the value to some empty slot and give it a name, and press "Save all" to update the EEPROM. Well there is also laser printed address on every iButton, but in reverse order and it is bit tiny.
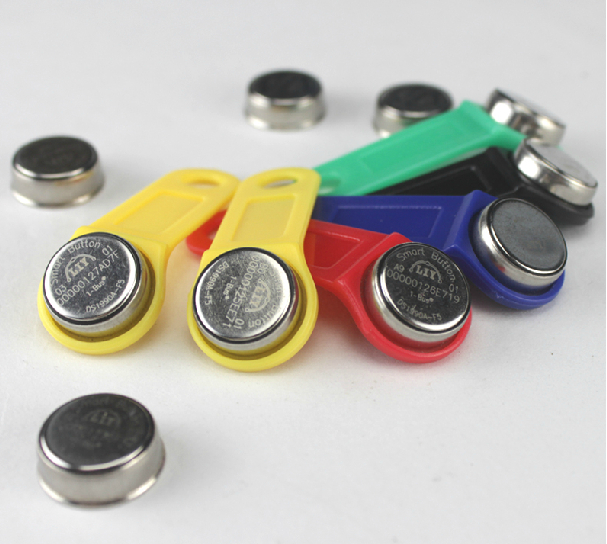
The system uses just ROM address of iButton, that mean you can use any iButton as a key even temperature probes and such. Now this bring another thought about security. First I consider iButton secure, but they can be read and copied, so can be RFID tags. Also touching probe with iButton is more convenient than to type 16 hex digit on keypad. But it can be surely improved. For example if you stay with iButton there is NVRAM version like
DS1992. It gives you 1Kb of non volatile RAM you can use for floating code that can be generated every time you touch authorization unit. This makes coping much more complicated.
There is also possibility here to use other means of authorization, like NFC found on many phones. Or a simple keypad, but I have small children and prefer ROM
iButton for its price and durability. Maxim states "Thanks to sealed stainless steel, you can drop it, step on it, or
scratch it. The iButton is wear-tested for 10-year durability and a
million hot contacts."
.png) Also here is an example of my own groups (Garage, House) and zones (PIR, reed) setting for ground floor.
You can see here how authentication unit is attached to particular zone. Only
these zone is then set up with authentication delay. That is, when someone
trips these zones there is time allowed for the person to authenticate.
All other zones in house group trigger the alarm state immediately. You can
read more about it in zone's setting.
Also here is an example of my own groups (Garage, House) and zones (PIR, reed) setting for ground floor.
You can see here how authentication unit is attached to particular zone. Only
these zone is then set up with authentication delay. That is, when someone
trips these zones there is time allowed for the person to authenticate.
All other zones in house group trigger the alarm state immediately. You can
read more about it in zone's setting.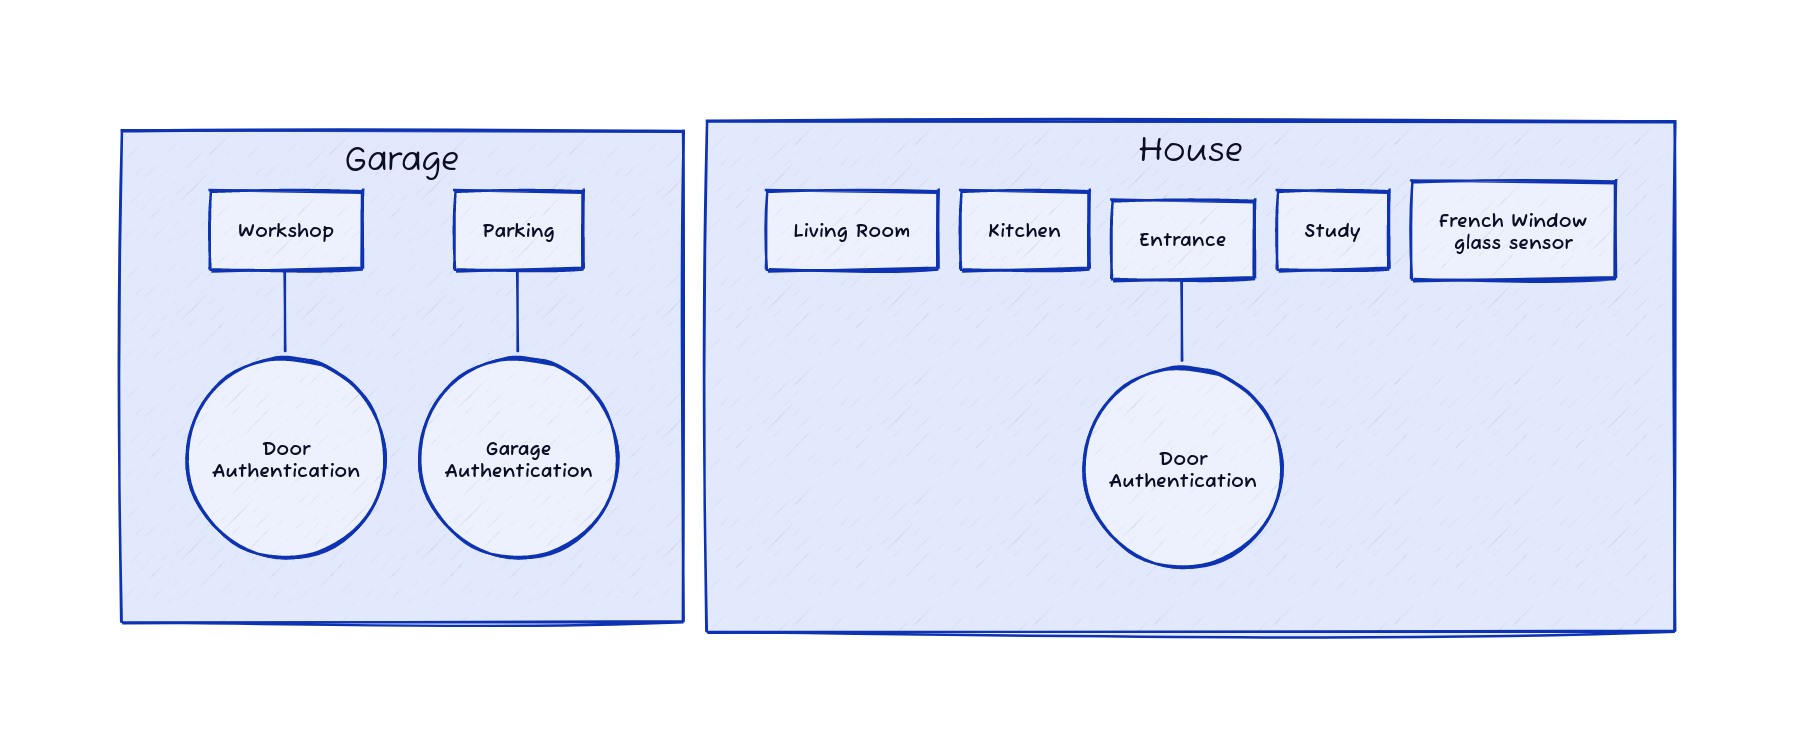.png)