 |
Gateway with antennas and pigtails. One for GSM, other for 868MHz radio. I sell them as optional accessory around $5 each. On PCB are only IPX U.FL connectors for this labelled GSM and ANT. | ||
 | A 12V@500mA power supply. For continuous operation use recommended PSC-35A-C or PSC-60A-C. It has charging circuit to 12V lead batteries that are common. Gateway is designed with this PSU in mind, and it is able to recognize power states. Gateway then is able to send you SMS or email, if power goes off or battery is near to empty. It works as UPS to all parts of system. For this PSU I'm also selling cable with connectors to gateway and to 12V battery with Faston(6,3mm). | ||
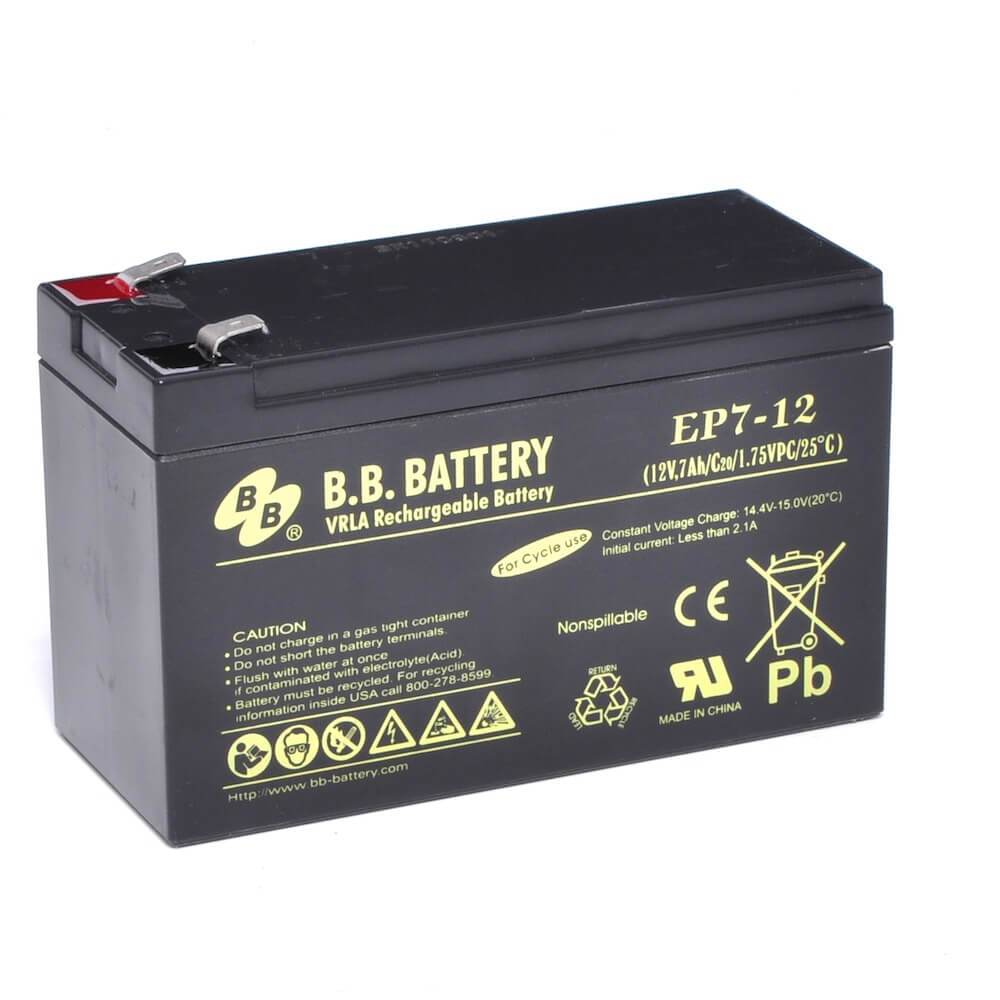 | 7Ah 12v Sealed lead battery or bigger, if you expect power outage for more then 1~2 days. | ||
 | CR2032 coin battery for RTC. Not needed if your main 12V battery will cover power outage, but better be safe. | ||
 | PIR sensors. Any wired PIR sensor will do, just there are needed two balancing 2k2 resistors for each. I will include them with every assembled gateway. | ||

| Widely available Cat5 Ethernet cable is good solution for wiring of PIR, smoke or reed sensors. It is actually cheaper in my local store then to buy 3-4 wire cable. I use it also for RS485 wired nodes, it is actually required to have at least one twisted pair for the bus. It is also convenient way to have spare wires in case you need to add another sensor near existing one. | ||
 | For entry authentication a node with wired(RS485) or radio(RFM69) interface. They are for sale in my shop. | ||
 | Then an iButton probe connected to wired node with two LEDs. Any time you touch it with iButton it sends its ROM address as key to gateway. Gateway then decides if is to arm or disarm the connected group of PIR's. They are for sale in my shop. | ||
 | iButton to authenticate. | ||
 | You would also need some Arduino equipment to update firmware, like FTDI USB to Serial and/or ISP programmer. Then you feel like more advanced then also a ST-link V2 programmer for the gateway. | |
And some DIY enthusiasm! 😎
No comments:
Post a Comment